Last week I wrote about the keys to successfully planting seeds for spring. In it I mentioned my preference for seed starting kits. Not long ago I used one of these kits, compliments of Gardener’s Supply. Below are some shots of the process.
Seed starting kits are about the size of a sheet cake or lasagna pan, as you can see below. They should have a watering tray, a grid of growing pots, and a clear plastic cover to help seeds get going.

I recommend you use a formulated seed starting mix to assemble your pots. These are formulated to be lightweight and loose, allowing roots to shoot down quickly. Here you can see I tried a brick of coir mix. Coir is a fine shredding of the outer husks of coconuts. They work well for this job and can easily be incorporated in the ground soil or a container.
Below you can see the lower elements of this kit (reservoir, raised grid, and capillary mat) assembled with the seed tray in my right hand before it goes on top. The capillary mat is wider than the raised grid so the ends dip into the water below and wick up moisture. Not all kits have this mat but it is a nice feature if you can get it.

Essential Planting Guide For Herbs
Get your FREE copy of Ann’s
Once you have the tray in place, fill each cell with damp seed starting medium, leaving an inch of room at the top for watering. Make sure the seed medium is thoroughly moistened so it can provide a steady supply of water to the seed.
Now comes the fine detail work. Here I’m sowing basil seeds which are quite small. It is nearly impossible to plant just one in each square so I’m trying to spread them out a little and sow no more than two or three in each potting cell.
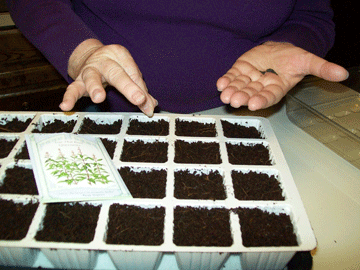
Once they germinate I’ll eliminate the extra seedlings, NOT by pulling them out and disturbing their neighbors, but by snipping their stems down to the surface.
The final step is to place the plastic cover on top and place it in a location with artificial light or indirect sunlight. If you put it in direct sun, the air inside the cover will superheat and kill the young seedlings.
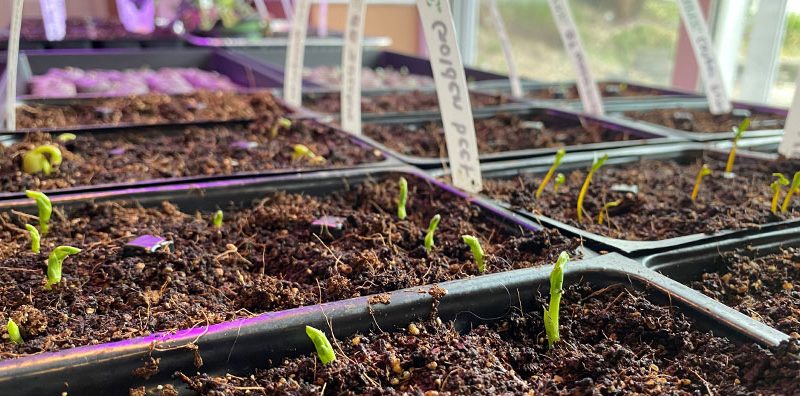
Now comes the fun part – watching to see the new seedlings emerge, usually in about 10-14 days. Once they have all germinated, it is time to remove the clear cover and begin watering as needed as they grow to a size where they can be out in your garden. Good luck!
If you want to order from Amazon, here is a great kit (affiliate link). It includes everything you would need with the exception of the seed starting medium and seeds.










0 Comments